Switching POS systems feels risky, which is exactly why so many restaurants stay years too long on software they’ve outgrown. Done in the right order, a migration is a two-or-three-day project with one nervous shift. Here’s the plan for how to switch POS systems without losing data or your Friday night.
Key takeaways
- Export everything before you cancel — products, customers, suppliers, stock, and 12 months of sales reports.
- Historical transactions rarely transfer; keep exported reports for tax and comparison.
- Switch on your slowest day of your slowest week, ideally at month start.
- Rebuild the menu deliberately — a migration is the best chance you'll get to clean it up.
- Run a practice service before go-live, and keep the old system reachable for a month.
Step 1: Export everything (while you still can)
Do this before you give notice on the old system — access sometimes ends abruptly at cancellation.
| Data | Format | Why |
|---|---|---|
| Products / menu with prices | CSV or Excel | Bulk import into the new system |
| Modifiers & option pricing | Screenshots or export | Usually needs manual rebuild |
| Customer list | CSV | Loyalty history, contact details |
| Supplier list & costs | CSV | Purchasing continuity |
| Current inventory counts | CSV | Opening balances |
| Sales reports (12+ months) | PDF/Excel | Tax records, year-over-year comparison |
| Tax settings & rates | Notes | Getting these wrong is expensive |
Store the exports somewhere permanent, not on the terminal you’re about to return.
Step 2: Rebuild the menu (and clean it up)
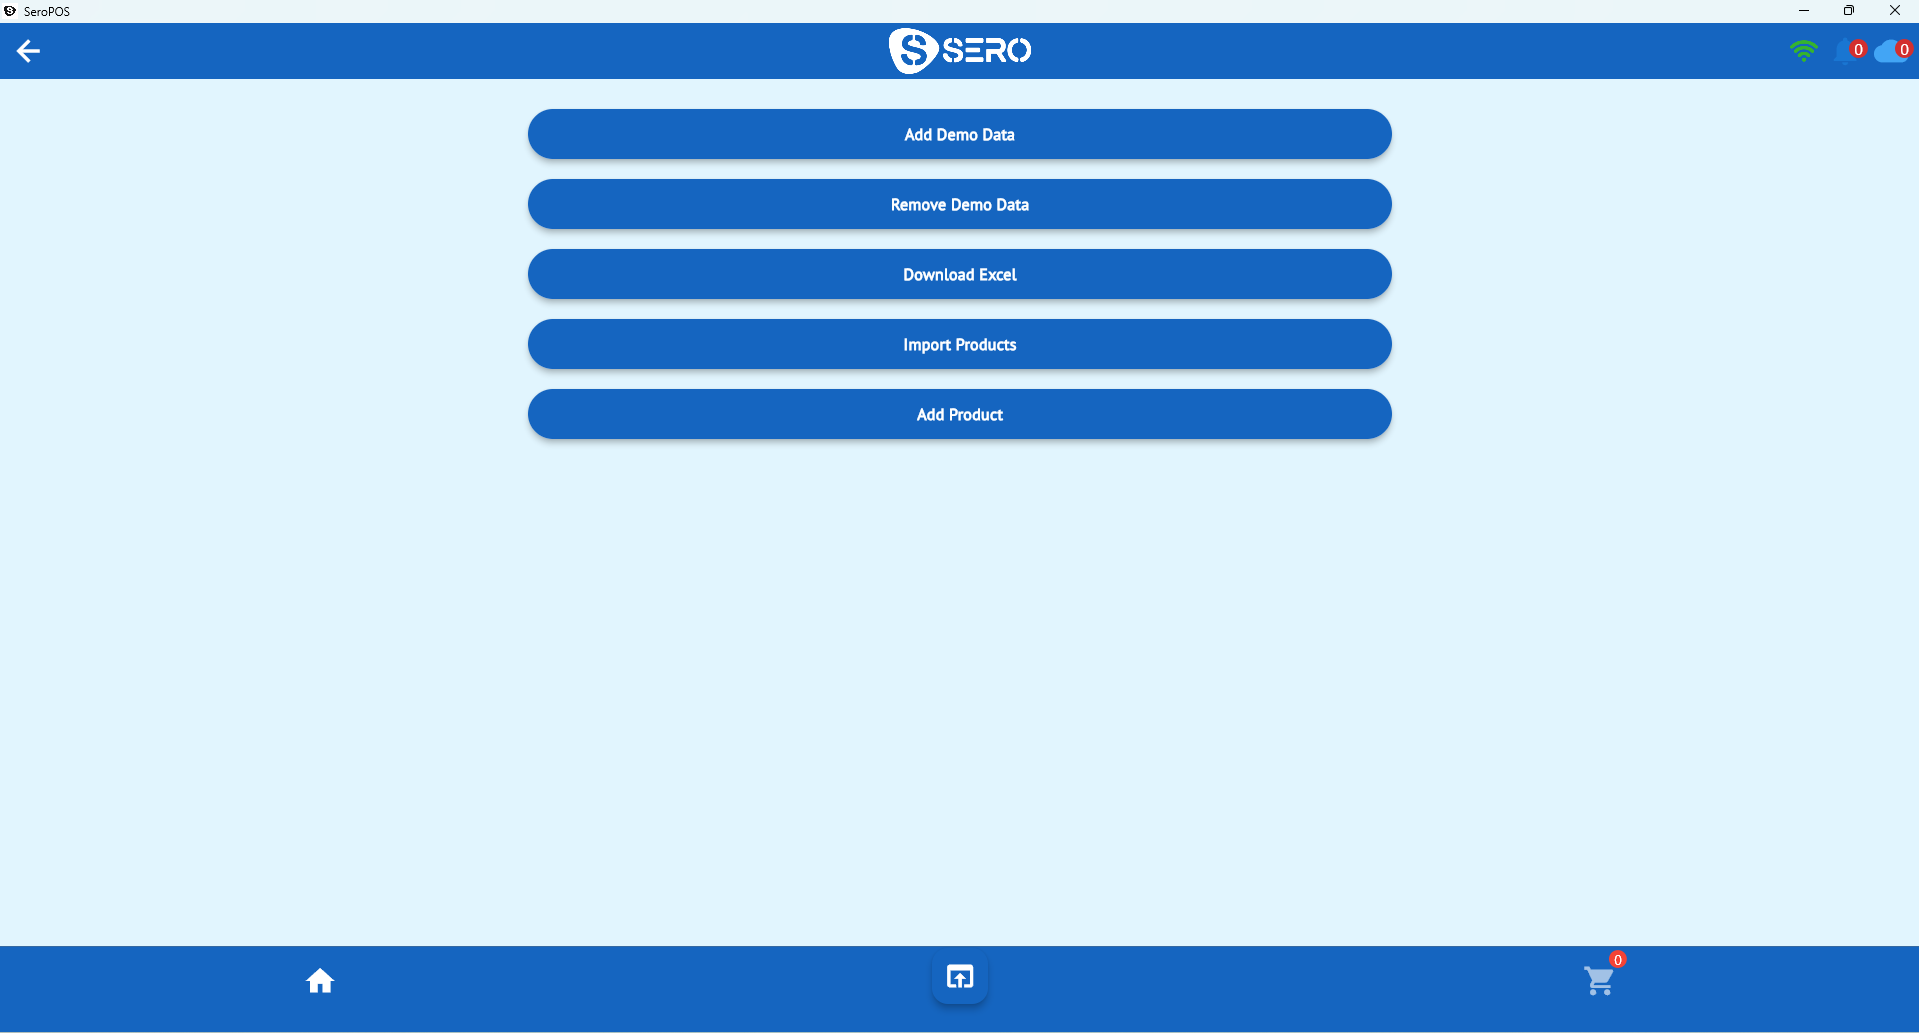
Bulk import handles the bones — products, prices, categories. Modifiers usually need a manual rebuild because every system models them differently, and that’s a blessing: it’s your chance to fix a decade of accumulated mess.
While you’re in there:
- Cut the dead items. Every menu has items nobody orders — check your old sales reports and delete them.
- Fix your modifier structure. Required choices first, popular options at the top, upcharges attached to options (setup guide).
- Standardize naming. “Lg Pep Pizza” and “Large Pepperoni” shouldn’t both exist.
- Set correct tax rates per item category.
Step 3: Set up hardware before go-live day
- Printers: connect and test both receipt and kitchen printers. Print a real ticket and take it to the kitchen — is it legible and unambiguous?
- Payment terminal: pair it and run a small test transaction, then void it. Confirm the amount arrives automatically rather than being keyed (why integration matters).
- Cash drawer: verify it opens on payment.
- Devices: charge tablets, mount stands, check the Wi-Fi reaches every corner you’ll use.
Step 4: Train on demo data
Good systems ship with sample data so staff can practice without polluting your real reports. Run your team through:
- Ringing a standard order
- The hardest modifier combination on your menu
- A split bill with mixed cash and card
- A refund and a void
- Opening and closing the register
Twenty minutes each, done in a quiet moment, saves an hour of chaos on go-live day.
Step 5: Choose the switch date carefully
Best: the slowest day of your slowest week, at the start of a month (clean accounting periods), with your most experienced staff on.
Worst: a Friday, a holiday weekend, the day a promotion launches, or the week your manager is away.
Step 6: Run parallel, then cut over
- Practice service. Take real orders on the new system during a quiet shift, with the old one still available as backup.
- Cut over on your chosen date. Count cash, note opening inventory, and start clean.
- Keep the old system reachable for ~30 days for lookups, refunds on old sales, and anything you forgot to export.
- Watch the first close carefully — reconciliation is where setup mistakes surface.
Step 7: The first week
- Reconcile daily, not weekly, until you trust the numbers
- Check tax totals against expectations early — misconfigured tax is the most expensive setup error
- Collect staff friction points and fix them in one batch rather than mid-shift
- Confirm accounting sync is posting correctly if you use it
What usually goes wrong
| Problem | Prevention |
|---|---|
| Tax set up wrong | Verify rates per category before go-live |
| Modifiers incomplete | Build and test your hardest order first |
| Printer not routing to kitchen | Print a real ticket during setup, not on the night |
| Staff untrained | Practice on demo data in advance |
| Data not exported | Export before cancelling anything |
| Switched during a rush | Pick the quiet day, always |
Why this is easier than it used to be
Modern cloud POS removed most of the historical pain: no server to install, no proprietary hardware to buy, and free trials that let you build your entire setup before paying anything. With SeroPOS you can import your menu, connect printers, and run practice services during the 14-day free trial — then simply keep going if it works.
Related reading: what is a restaurant POS system · POS system cost · POS hardware guide.